| Quantity | ||||||||||
| Size | 1 | 5 | 10 | 15 | 20 | 50 | 100 | 250 | 500 | 1000 |
| 5.5" x 8.5" (Landscape) | 0 | 0 | 0 | 0 | 0 | 0 | 0 | 0 | 0 | 0 |
| 8.5" x 5.5" (Portrait) | 0 | 0 | 0 | 0 | 0 | 0 | 0 | 0 | 0 | 0 |
| 8.5" x 11" (Portrait) | 0 | 0 | 0 | 0 | 0 | 0 | 0 | 0 | 0 | 0 |
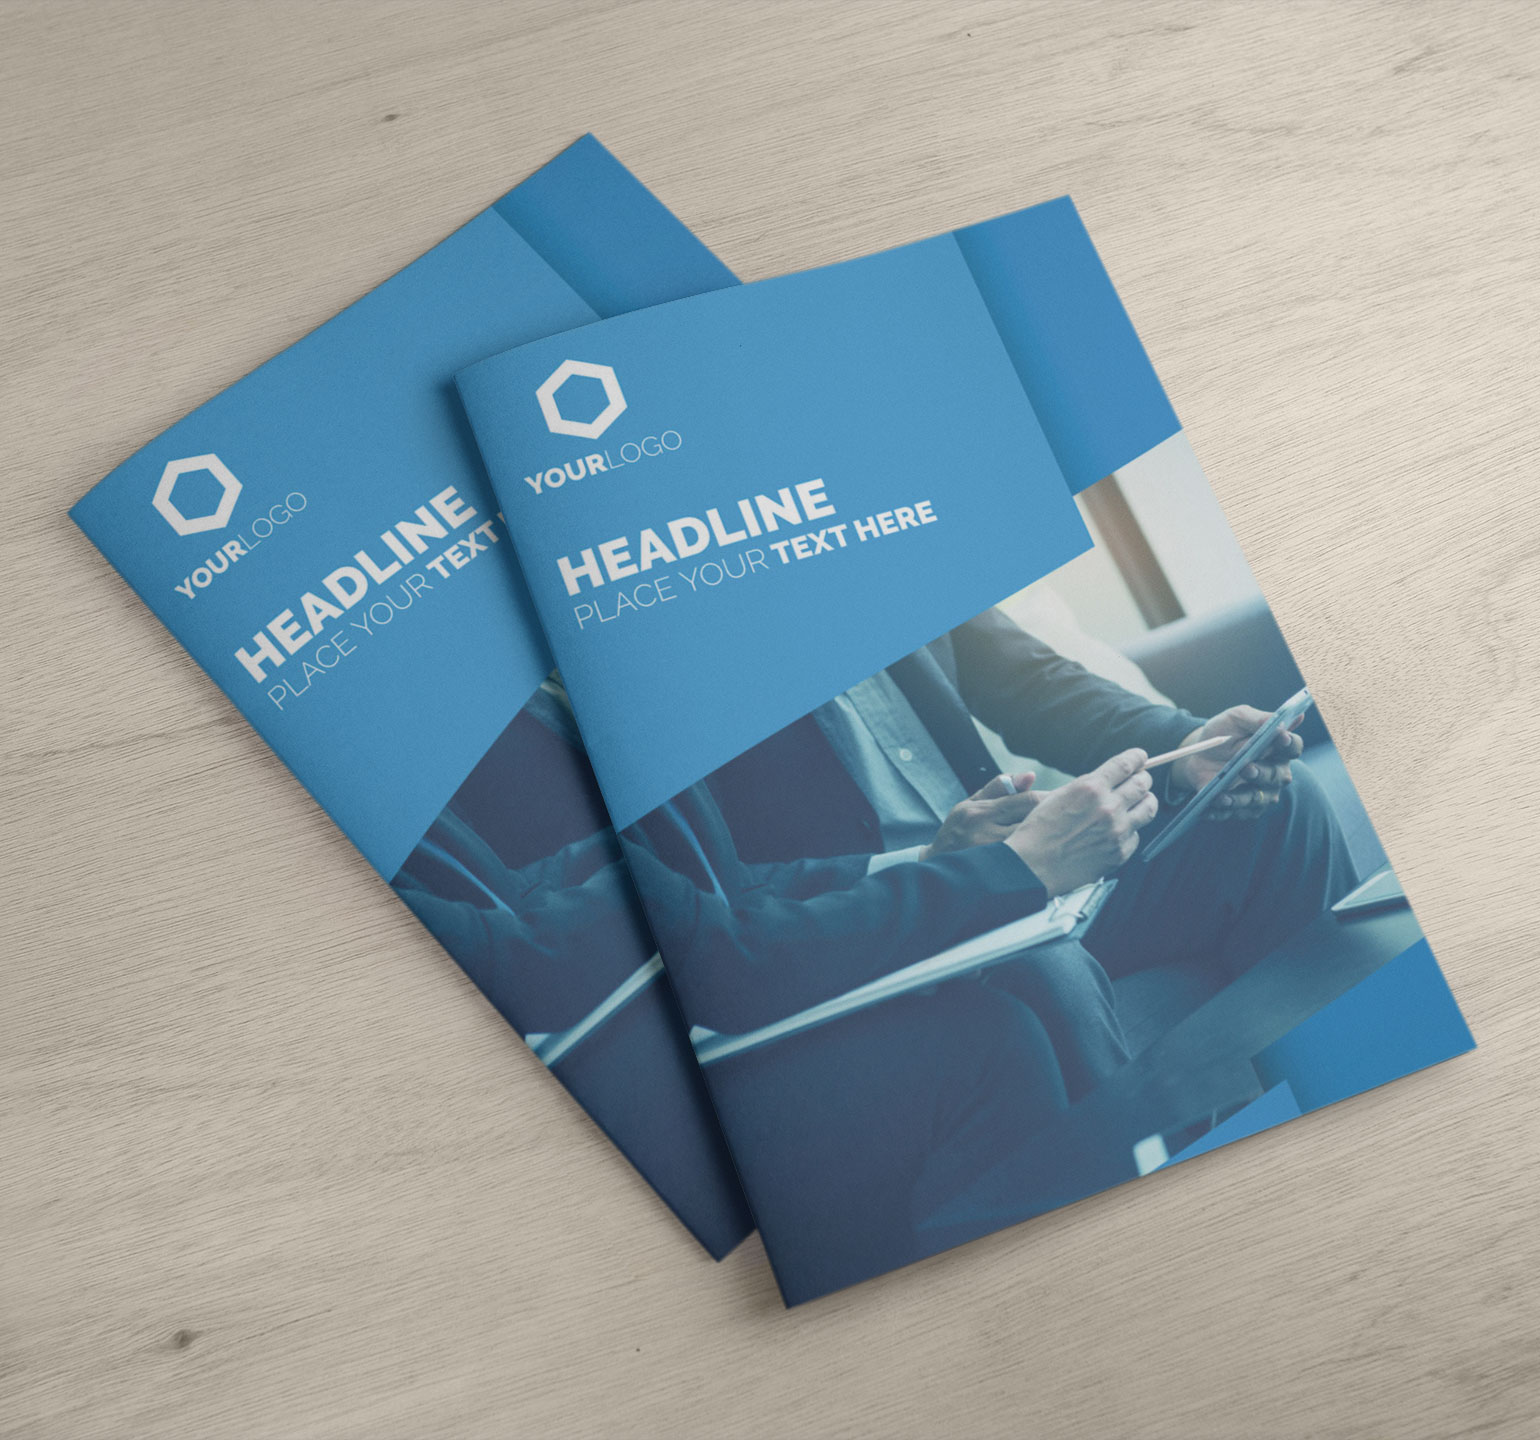
Saddle-Stitch Booklets
Saddle-stitch booklets are a professional way to present catalogs, programs, and product guides. Printed in vibrant full colour on premium paper and bound with staples along the spine, they’re perfect for events, marketing, and informational materials. Available in custom sizes at Digitech Printing in Vancouver.
- Size: 8.5×11 Inches & 2 other sizes available
- Thickness: Standard & Heavy options available
- Paper Finish: Gloss | Uncoated
- Score line is available for heavy stocks
- Stapled binding
Please select artwork files:

Fill out the form below to receive your quote
A saddle-stitched booklet is a cost-effective and versatile bookbinding method used for creating magazines, catalogs, brochures, and short books. Pages are folded and nested inside one another, then stapled through the central crease. The final pages of a saddle-stitched booklet must be a multiple of four. The two main methods of binding are machine stapling and hand-sewing.
- Use Our Templates: Download our official design guides to ensure your artwork is perfectly aligned.
- Remove Hidden Layers: Delete all setup guides, template lines, or hidden artwork layers. Anything left in the file, even if hidden, may accidentally appear in the final print.
- Single PDF Submission: Combine all pages (for multi-page projects) into one single PDF file.
- Uniform Sizing: Ensure every page within your PDF has identical dimensions.
- Correct Orientation: Double-check your file’s orientation to ensure proper backup. Review the File Prep tab for product-specific orientation guides.
- Bleed Requirements: All files must include a 1/8″ bleed on all sides.
- Safety Zone: Keep all critical text and graphics within the safety margin. We recommend a generous margin to prevent elements from appearing off-center or being trimmed off.
- Avoid Borders: We advise against using borders near the trim line, as minor mechanical shifts during cutting can make them look uneven.
- Image Quality: Use high-resolution images (300 DPI) and ensure your document is in CMYK mode.
- The Perfect Black: For Text: Use C:0 M:0 Y:0 K:100.
- For Large Black Areas: Use “Rich Black” (C:30 M:20 Y:20 K:100) for a deep, premium finish.
- Font Handling: Please embed or outline all fonts to prevent formatting errors.
- CMYK Only: Unless specified for your particular product (like PMS or RGB requirements), please provide CMYK files for color accuracy.
- Minimum Thickness: Use a minimum line weight of 0.75pt.
- Minimum Font Size: Keep knockout text at 8pt or larger.
- Recommended Formula: Use C:30 M:20 Y:20 K:100. Avoid heavy builds like C:60 M:60 Y:60 K:100.
- Apply Swelling: Slightly enlarge (swell) white knockout areas to compensate for natural ink spread and maintain clarity.
1. File Setup & Layers
2. Format & Layout
3. Bleed & Safety Margins
4. Color & Resolution
5. Working with White Text on Rich Black
Small shifts during high-speed printing are normal. To prevent thin white text from “bleeding” or disappearing into a Rich Black background, please follow these precautions:


